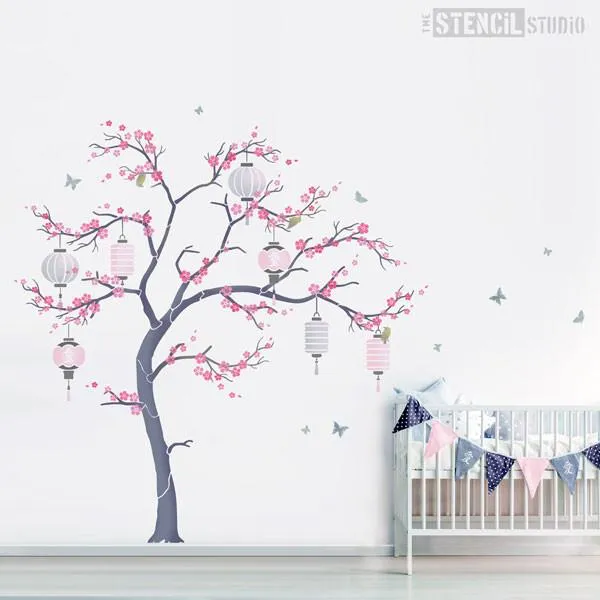
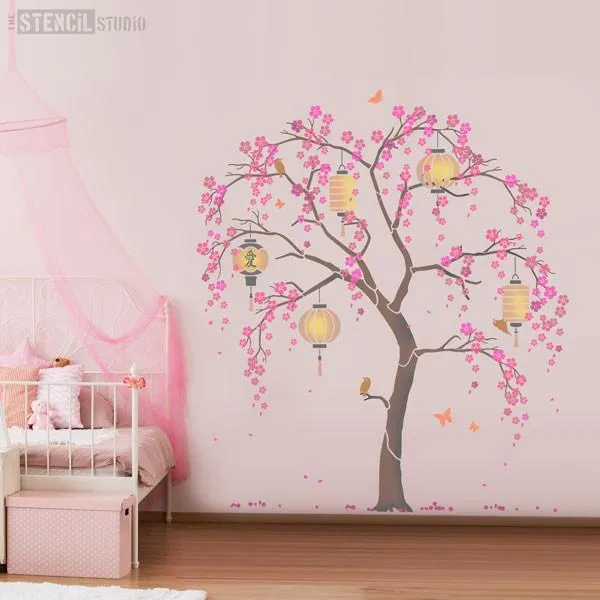
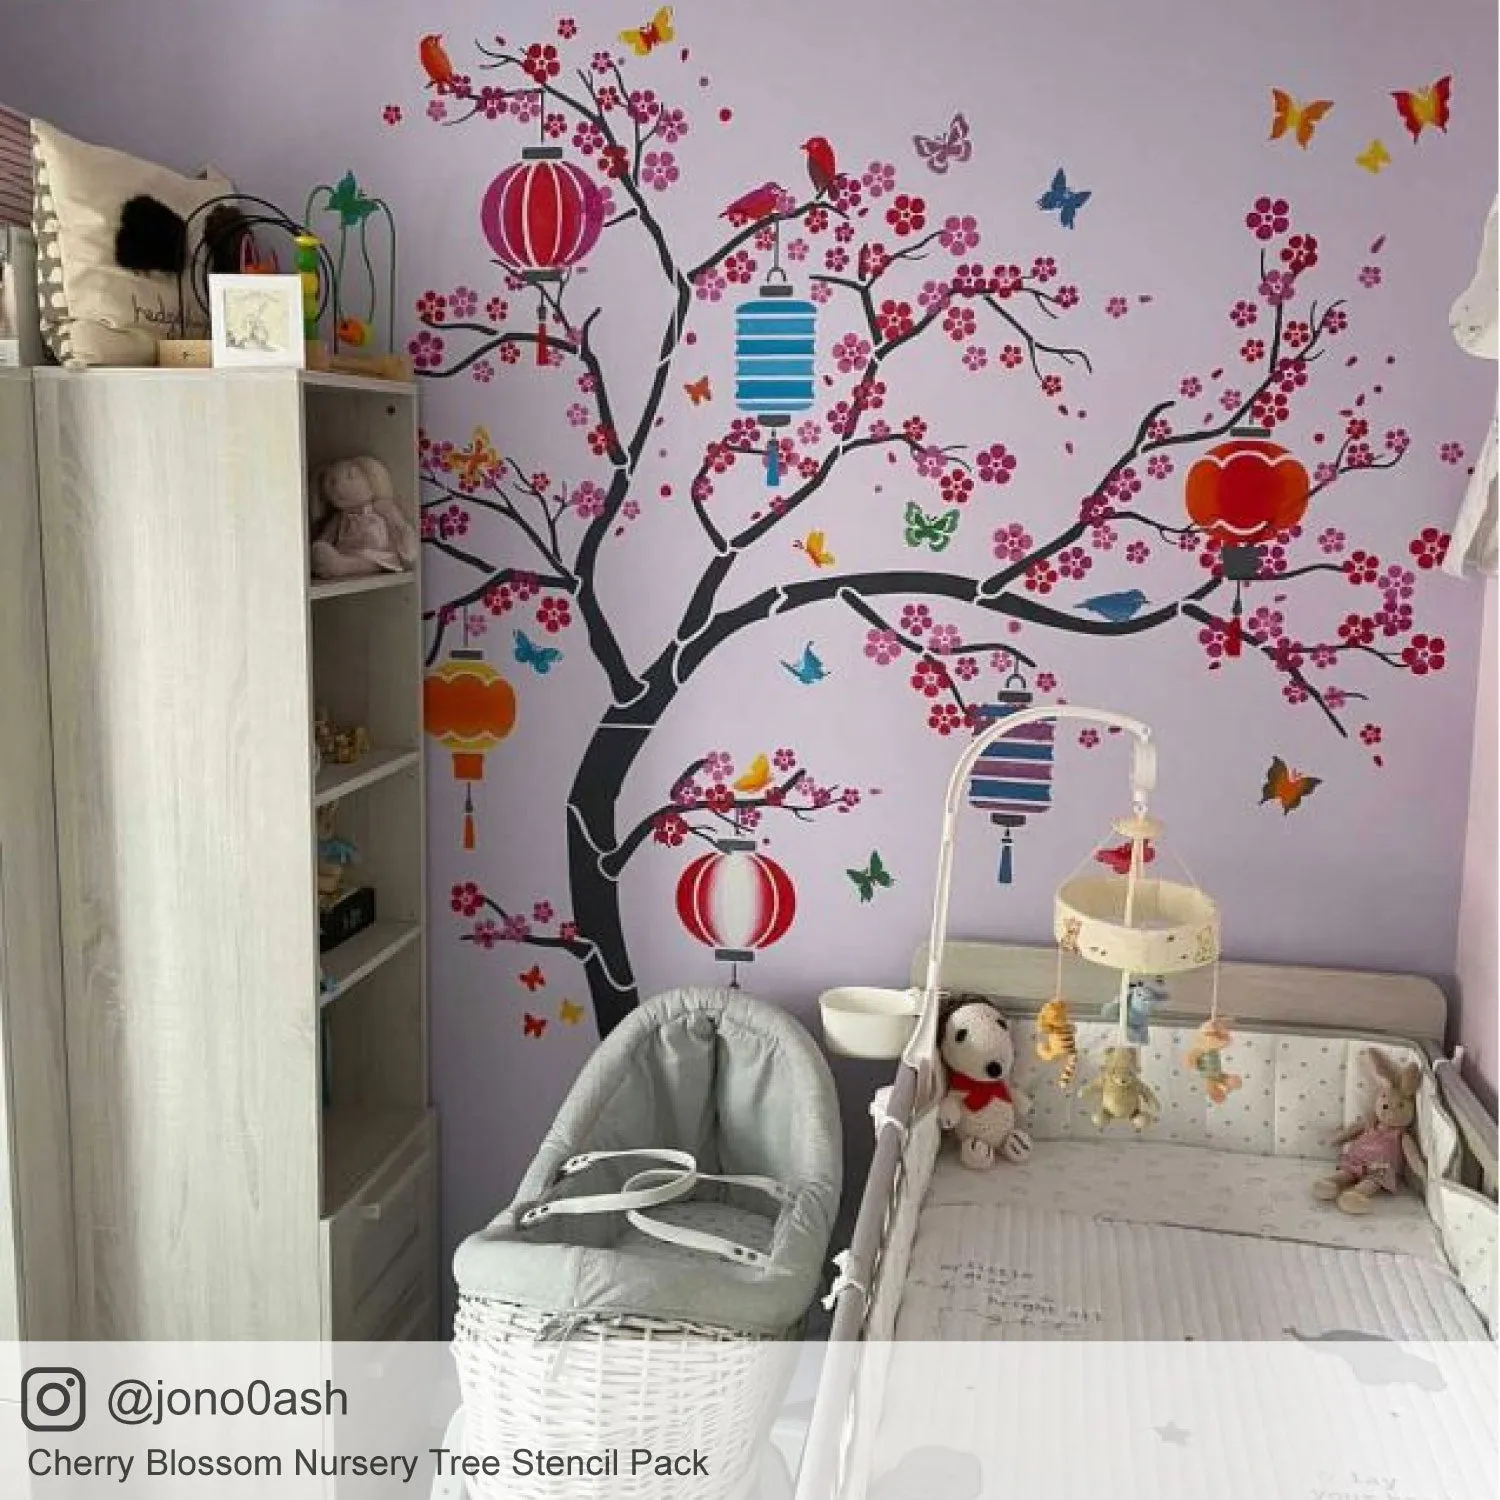
Beautiful Japanese Cherry Blossom (Sukura) Tree Stencil Pack including all the wall stencils you need to create a rounded tree or a windswept tree wall mural for a nursery, childs room or playroom.
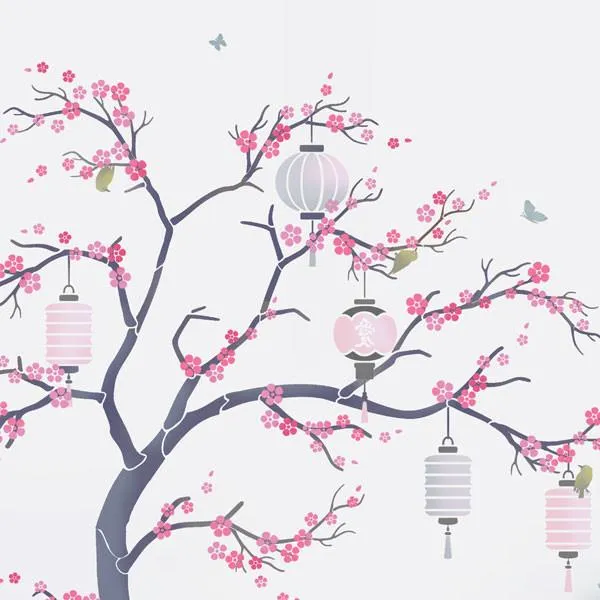
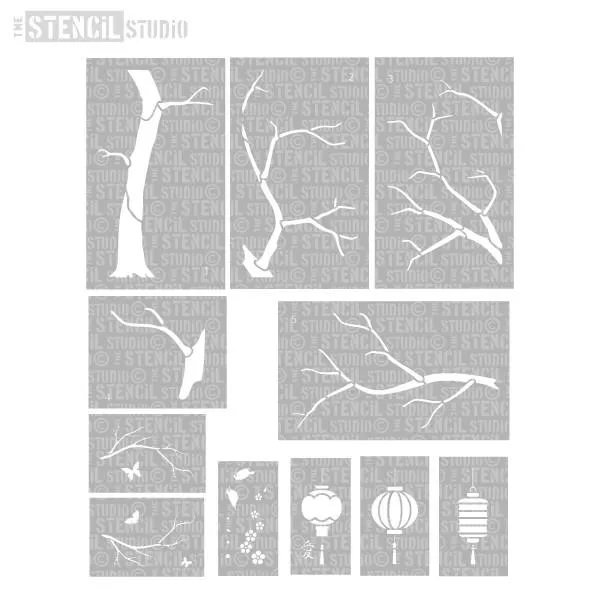
As well as the tree stencil, other stencils included in this pack are 3 x paper lantern stencils, 2 x branch stencils, blossom stencil, 2 x bird stencils and 3 x butterfly stencils.
Stencils are really simple to use and make a fabulous, unique and creative alternative to wall stickers or wallpaper. Unlike stickers you'll be able to paint the tree, blossom, lanterns, butterflies and birds any colour you like, position them where you like and use and reuse the stencils as many times as you need to get the look you want. Stencils won't peel off either so they're safe for use in bedrooms and nurseries as well as the playroom, oh and don't forget that stencils can also be used to paint furniture and fabrics too so why not stencil painted furniture, create some scatter cushions or make some matching curtains!
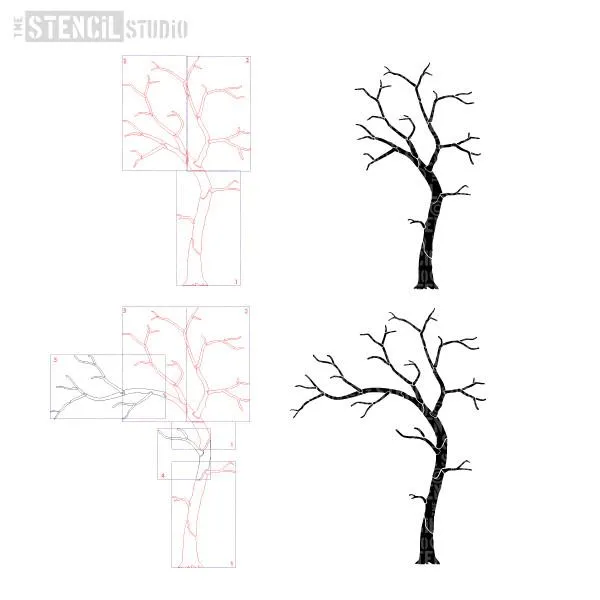
The main tree is cut from three numbered sheets, with the branch and trunk extensions for the windswept tree cut on two additional sheets. Follow the pictorial instructions below to create the tree you want. Have a look at some of our room schemes and decide which you prefer.
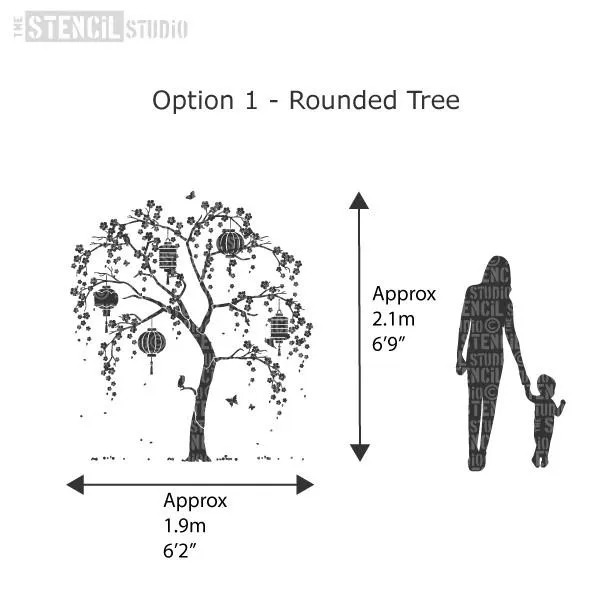
The basic rounded tree, when assembled, will measure 1.8m high x 1m wide. Adding small branches, blossom, lanterns and birds and butterflies (as pictured) will make the tree approx 2.1m high x 1.9m wide however you can decide which shape and direction you want to achieve.
Alternatively you can use the additional branch and trunk stencils to create a taller and/or wider windswept basic tree. Just follow our instructional pictures below.
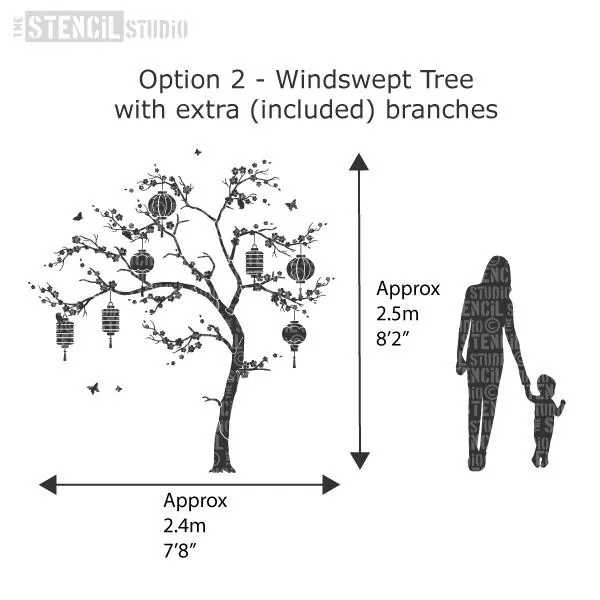
With the branch and trunk extensions the windswept tree measures just over 2m high and just over 1.5m wide. Adding small branches, blossom, lanterns, birds and butterflies (as pictured) will increase the height to approx 2.5m high and the width to 2.4m.
We'll also include comprehensive instructions with your stencils and although this is a large format stencil project it's really simple to do and is suitable for first time stencillers too!
How to stencil the rounded tree using sheets 1, 2 & 3
Position sheet one and paint the trunk.
Remove Sheet 1 and position Sheet 2. Paint.
Remove Sheet 2 and position Sheet 3. Paint.
Add some small branches at the ends of the larger branches. There are two stencils for this part, choose to have branches pointing up or arching down, or both! If you've got a steady hand you could use a small brush to paint over the stencil bridges (the small lines and gaps between the branches).
Once all the branches are dry you can start to add some blossom. Choose to position the blossom along the branches or hanging from the branches..
Paint the blossom any shade you like or a mixture of similar colours.
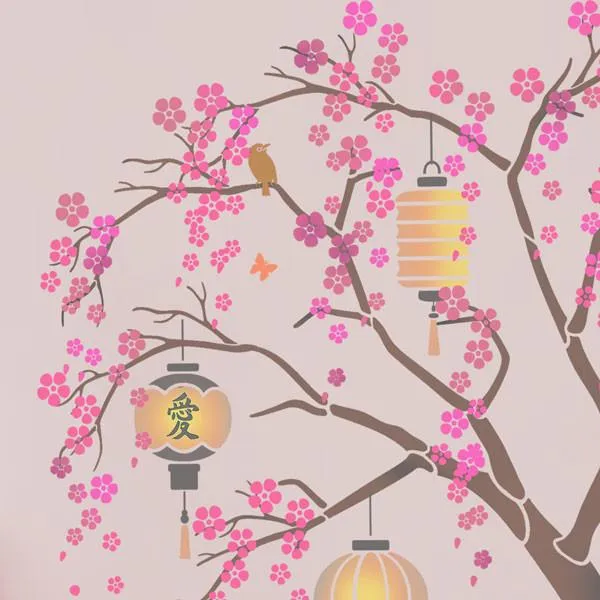
Now add some lanterns, again these can be painted any colour you like. Lighten the lantern paint colour and blend into the centre of each lantern to give the illusion of shape and light. Add a few blossoms over the top of the lanterns to soften and add depth.
And finally, add some birds and butterflies. The little Mejiro or White Eye bird is unique to Japan and is often seen hanging upside down from the branches so have some fun with them and scatter the butterflies in and around the branches too. The Japanese kanji for 'love' is included with one of the lanterns, stencil it on the centre of the lantern/s.
The completed tree, with some fallen petals along the bottom and a few falling petals too..
Stand back and admire your handiwork!
Alternatively, use the trunk and branch extensions to create the windswept tree using Sheets 1,2,3,4 & 5..
Start with Sheet 1, carefully omit to paint the top part of the trunk on sheet 1.
Note: The tree has a windswept shape, the stencil can be turned over so that the tree arches the other way. If you invert sheet 1 remember to turn over all sheets so that they match up.
Remove Sheet 1 and position Sheet 4, the Trunk extension. Paint.
Remove Sheet 4. Then position Sheet 1 and paint the remaining top part of the trunk.
Remove Sheet 1. Position Sheet 2. Paint.
Remove Sheet 2 and position Sheet 3. Paint all of the branches except for the two at the bottom as below..
Remove Sheet 3 and position the Branch extension Sheet 5. Paint.
Once the main part of the tree has been painted you can add some small branches.
Stencil the blossom.
Add the lanterns
and finally, add some birds and butterflies
The finished tree..
As with all stencilling projects the trick is to use a good thick paint and not overload the brush/roller. Small mistakes will not show once the whole tree is completed, and, if you add an unplanned blob here and there, just cover it with a flower or butterly!
Our stencils are...
- Easy to use and reusable.
- Made from thick durable plastic Mylar (190 microns).
- Washable. Flexible.
- Suitable for use with all types of paint including acrylic, emulsion, spray-paint and more.
- Ideal for decorating any surface including walls, fabric, furniture and other craft projects.
- In Stock for fast dispatch.
- Sent in protective packaging with instructions for use.
- Made in the UK.
The size information above refers to the actual size of the stencil design. The design will always be cut from a slightly larger sheet to allow for a border.
Stencils provide a versatile, cost effective and fun way to decorate your home. Stencil any surface including walls, fabric, furniture, floors and more. Just use the correct paint for the surface you are working on and get stencilling! Not sure where to start or what you'll need, see our page for top tips and advice.
All stencil designs & illustrations are copyright of The Stencil Studio Ltd.


